Will Kool-Aid help my dishwasher ?

Will Kool-Aid save my dishwasher ???

Will Kool-Aid help my dishwasher ?


THE SIMPLE ANSWER IS YES!!!!


dishwasher maintenance

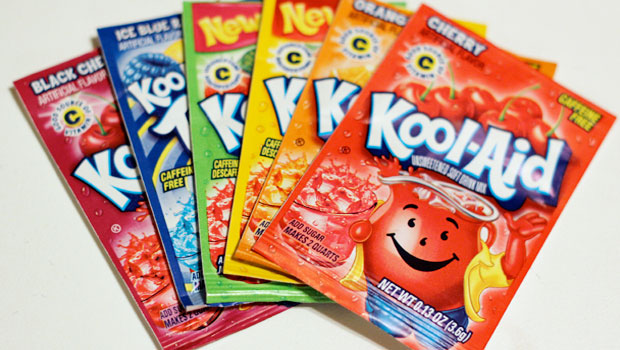
Available in every grocery store and very popular kids drink, Kool-Aid can also be used as a simple way to keep your dishwasher and making it run as good as new. Kool-Aid is full of citric acid naturally found in  lemons, oranges, limes, and other citrus fruits, because of Kool-Aid’s high concentration of the citric acid it is perfect for a dishwasher cleaner. 


IT IS JUST THAT SIMPLE .dishwasher-2

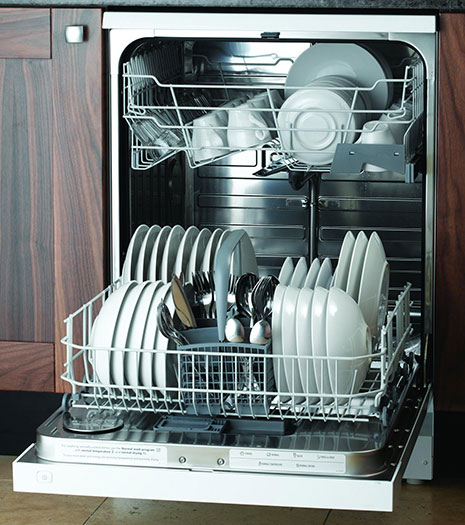
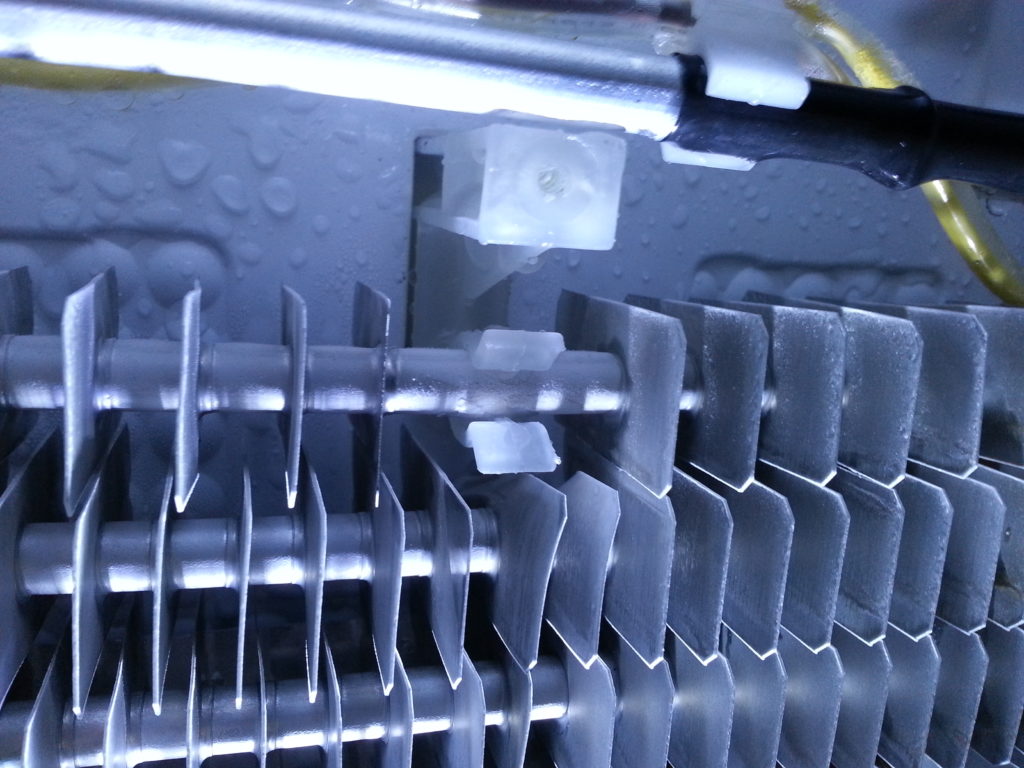
Running your dishwasher with Kool-Aid once a month will help to get rid of CALCIUM and OTHER MINERAL BUILDUPS.  If you live in an area where the water is consider hard you probably already have noticed scale and calcium covering interior surfaces of your dishwasher . This is causing poor performance and eventually will lead to catastrophic failure. If you are already noticing “cloudy " dishes despite using good quality, fresh detergent and your dishwasher is covered by powdery looking film . It is a time to take care of the problem.


ONCE IN A MONTH TREATMENT WILL HELP!!!

There are many commercially available products that states excellent results fighting calcium buildups, but if you prefer more natural and environmentally friendly approach here is couple examples :


white-vinegar-generic
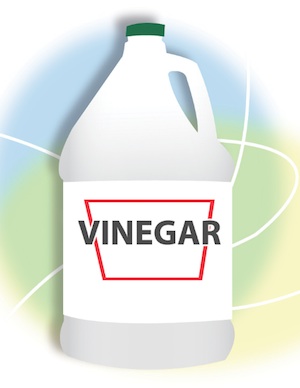
WHITE VINEGAR - contains anywhere from 5% to 20% acetic acid( 5$ to 7$ per gallon ) . You can just put a small glass bowl (1-2cups) in an upright position on the upper rack of the dishwasher.  Fill it up and run it on the normal cycle.


kool-aid-manKool-aid - contains citric acid ( unfortunately i was not able to find any info about acid concentration in the mix ) CONTAINS DYE so older dishwashers with plastic tubs can get discolored .

You can just fill the dishwasher detergent dispenser with it and run it on normal cycle .


vinegar
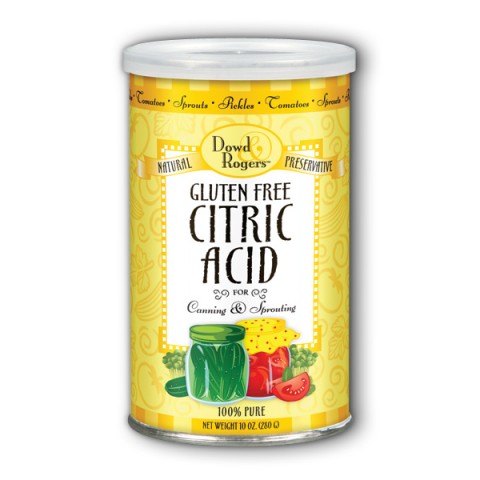
Citric acid - available in some stores and online this is the CHEAPEST way to go. You can get pure 100% citric acid online for 4$ per pound. Like Kool-Aid fill the dispenser with approximately one table spoon of the citric acid and run it on a normal cycle. 


Once a month treatment which was mentioned above with the  "cleaner" of your choice should be sufficient to keep your dishwasher healthy for many years.

SOME OTHER DISHWASHER TIPS:

  1. DO NOT WASH YOUR DISHES BEFORE - just rinse leftover food using dedicated brush or a sponge. DO NOT use the same sponge you using with regular dish soap.  You can accidentally transfer soap residue in to the dishwasher and it will cause poor performance or in the worst case scenario the dishwasher will flood your kitchen .
  2. Every 6 months clean the air gap on the top of the sink .
  3. One of the best ways to keep your dishwasher in very good shape is by using good quality dishwasher detergent. Most manufacturers have been using phosphates free formulas ( because environmental concerns ) that is why it is very important to use good quality brand name dishwasher detergent. Dishwasher detergents are very hygroscopic substances ( will absorb moisture from air ) that is why it is important to keep the box closed or using small zip lock bags to keep detergent fresh and potent for many weeks.
  4. Always make sure that the sprayers arms spin freely and all water spraying holes are free of any debris.  You can use a tooth pick or small thin wire to clean the holes.


Appliance repair San Diego


Appliance repair San Diego

Ace Appliance provides appliance repairs in San Diego since 2014.

Appliance repair San Diego

Ace Appliance repair San Diego is your one stop solution for all your appliance repairs. We proudly repair and service appliances of any brands and models including many foreign brands like BOSCH , ASKO , FISHER & PAYKEL , THERMADOR , MIELE. We are located in sunny San Diego and provide services in San Diego County and surrounding neighborhoods including POWAY, DEL MAR, ENCINITAS, RANCHO BERNARDO, RANCHO 4S, RANCHO SANTA FE, NATIONAL CITY, EL CAJON, LA MESA, MIRA MESA and many more.

Our company works with best parts suppliers in the country ensuring that your repair will be finished in timely manner . We use OEM parts ensuring high quality repair and long life expectancy .We also stock many common parts ensuring that on many occasions we are able to repair your appliance during first visit.

Our appliances definitely changed in last 10 years. Most today appliances are electronically controlled . We make sure that all our technicians are up to date with new solutions and repairs .

We provide  90 DAYS warranty on any repair.

We repair WASHERS, DRYERS, REFRIGERATORS, STOVES, RANGES, MICROWAVES, OVENS, GARBAGE DISPOSALS, HOOD EXHAUST FANS. 

We provide full diagnose and estimate for low 45.00 dollars service fee which always going towards any repair ( it is NOT added on the top of the repair like some companies ) . Service fee covers full diagnose , estimate and trip chargers.

We also provide services and repairs for management companies and property owners including quick scheduling directly with the tenants , monthly billing , estimates and consultations over the phone or via email .

WE ARE LICENSED AND INSURED  !!!!!


We always making sure that the your appliance repair will be performed very safely, responsible and clean , with special attention to your hardwood floors , surrounding cabinets and furniture. We are family operated and our goal is providing best possible experience and quality service including flexible scheduling .   We are pets friendly . 

You can check couple our recent repairs, visit our Youtube channel

>>>>>>>>>ACE APPLIANCE YOUTUBE<<<<<<<<<

or

>>>>>>>>>>>Google+<<<<<<<<<<<


Whirlpool 29 inch dryer repair kit installation part 4392065

Whirlpool 29 inch dryer repair kit installation part 4392065

Here is a short HOW TO video of the installation of the whirlpool repair kit part number 4392065.

This kit includes :

2 rollers part number 349241T

belt 341241

idler pulley 691366

spare TRI-RINGS

The repair should not take more than 30 minutes and it is one of the most simple repairs on the dryers.

You can get the kit here :

https://www.apwagner.com/appliance-part/wpl/4392065

Maytag dryer motor replacement W10410999 , y303836 , y312959

Maytag dryer motor replacement W10410999

Here is a short 20 minutes video tutorial how to replace maytag dryer motor part number W10410999 . This video tutorial include also belt replacement part number Y312959 and maytag blower wheel part number Y303836 .

FEEL FREE TO SHARE IT.

THANKS FOR WATCHING !

 ORIGINAL MANUFACTURER INSTALLATION AND WIRING INSTRUCTIONS:

Maytag dryer motor replacement


Maytag dryer motor replacement


Maytag dryer motor replacement

Top mount freezer refrigerator leak repair

Refrigerator with top mount freezer leak repair

How to repair a leaking refrigerator with top mount freezer :

If your refrigerator leaking water from the freezer section in to the refrigerator most likely you have a frozen drain line .

Here is couple simple steps how to repair it.

STEP 1

frozen drain line

Unplug the refrigerator

Empty the freezer

Remove couple screws holding floor cover , back cover and fan cover. You need to get access to the drain line,


drain line frozen lover panelappliance repair san diegoSTEP 2

After removing all panels defrost and clean all the ice formed underneath the floor cover:

leak repair

leak repairleak repair 

Remove all ice and clean the floor , you should see something like this :

Back of the freezer

STEP 3

DEFROSTING AND CLEANING OF THE DRAIN LINE

frozen drain line

Usually whole drain pan is cover with ice , please defrost it and using turkey baster or syringe filled with hot water please defrost the drain line. Make sure that the drain line is defrosted completely ( all water drains easily through the drain line. Do NOT USE TO MUCH HOT WATER ( two or three cups should be sufficient to defrost the drain line) if you use to much water you will overfill the drain pan underneath the fridge and it will leak on the floor.

drain leak repair

leak repair San Diego

Basically you are all done. Now you do have to decide if your refrigerator needs drain line heater.

Most of the refrigerators will be fine after just defrosting and cleaning the drain line at least for a while. If this happen in your fridge for the first time you dont really need to do anything else just install all covers in revers order . If this happen multiple times already and you had to defrost the line couple of times you can consider installing a DRAIN LINE HEATER  . In couple next steps i will explain how to do it.

STEP 4

DRAIN LINE HEATER INSTALLATION

Drain line heater is like an upgrade for your refrigerator. Because it is an universal part there is a lot of different types of the drain line heaters. one of the most common is SUPCO SH201

sh201

this heater is string type heater , very simple to install with good quality leads , very flexible.

depending on the refrigerator model you will have to determine how to install the heater. Usually what i do is putting it in half and wrapping whole thing in aluminum sealing tape leaving 2" of open heater LIKE THIS :repair san diego

sh201drain with heater

refrigerator repair san diego

DO NOT PUT MORE THAN 1.5" OF THE HEATER INSIDE THE DRAIN  LINE, Usually 1" its enough. If drain heater will be to long it could melt the plastic drain line inside the walls of the refrigerator

Now you need to hooked it up to the main defrost heater :

The simplest way to do it is locating main defrost heater terminals and hooking up the drain heater to it. sometimes you do have to extend the wires to accomplish that.

diagram

You can use regular wire nuts for all connections. 

You need to wire new drain line heater parallel with main heater something like this :

wiring repair

refrigerator repair wires

Use zip ties to secure all loose wires.

WITH this type of the connection when main defrost heater turns on also drain line heater is on and defrost any ice buildup in the drain line. 

Now you only need to close the patient :-)

refrigerator repair rear panel

NOW THE FLOOR COVER

refrigerator repair floor cover

AND EVAPORATOR FAN COVER

refrigerator repair fan cover

CONGRATULATIONS YOU ARE ALL DONE !!!!!!!

Samsung refrigerator leaking water

SAMSUNG REFRIGERATOR LEAKING WATER IN THE FRESH FOOD DOOR SECTION

Many models of SAMSUNG refrigerators sooner or later developing a leak in the fresh food section of the refrigerator. This problem is related to a frozen drain line.

Technical background:

Every frost free refrigerator on the market is equipped with some sort of defrost system. Defrost system its necessary to get rid of snow accumulated on the evaporator coils  during cooling cycle.

Defrost system usually including : defrost heater , defrost thermostat and some kind of controls ( defrost timers or electronic control boards ).

During the defrost cycle heater heats up the evaporator and melts the snow ( frost) from it. Water from the snow supposed to be collected by the gather under the evaporator and drain through the drain line under the refrigerator where evaporating every day from the drip pan. If the drain line is frozen or clogged all the water starts filling up the gather and eventually overflows it and starts leaking outside ( for example in to the crisper drawers or underneath.

Here is couple steps how to repair this problem:

You will need: phillips screwdriver , flat head screwdriver, excessive moisture kit from Samsung DA82-01415A ,( optional ) evaporator cover DA97-07190G

STEP 1

Empty the refrigerator compartment and remove all shelf including crisper drawers and crisper drawer cover ( lift and pull )

Refrigerator should look like this

samsung refrigerator leaking repair
ALL SHELVES REMOVED
STEP 2

Removal of the evaporator cover :

there is 4 screws holding evaporator cover in place

one on the top behind small plastic cover

 leak repair

leak repair

and three on the bottom :

samsung refrigerator leaking repair

after removing evaporator cover screws there is 6 small tabs on the edges of the cover marked with small triangles . You need to use flat screwdriver and push it between refrigerator wall and the cover and simultaneously pulling cover away from the wall. If the refrigerator is defrosted it will be very easy if not defrosted  pour some hot water through vent holes and around the edges of the cover to melt ice holding everything together. I usually  use a big towel on the bottom to catch all the water. You need to pull from the bottom first and work slowly upwards. after all tabs are released gently pull down the cover , there is two plugs behind the cover ( evaporator fan motor and sensor ) just push the tab on the plug and pull.

You should see something like this:

samsung leak repair

AND HERE IS THE PROBLEM : FROZEN DRAIN LINE

frozen drain line

frozen drain line 2


STEP 3

You have to defrost all the ice from the gather and the drain line . I use turkey baster and hot water and I am pouring hot water till all the ice is gone and the drain line draining freely .

Next you have to release the upper evaporator holder tab:

20160629_131521

THIS STEP IS VERY IMPORTANT : BE VERY CAREFUL !!!!!!! You need to bend the evaporator lines to get the access to the back of the gather. 

  • release the tab
  • pull a little bit towards you and up
  • try to pull it enough to be able to free the bottom of the gather from the back wall. DO NOT FORCE IT. DON'T BRAKE THE EVAPORATOR LINES . DO NOT BEND TO MUCH
  • you only need 4 or 5 inches from the wall.
  • now you need to dry the back and the bottom of the gather
  • excessive moisture kit includes two foam strips , bottom foam pad , drain line heater and two duckbills
  • install two long foam strips on the edges vertically and the sealing pad underneath

bottom pad

this is how it approximately supposed to look like from the back

behind

foam pads

Bend the evaporator back in to its original position , lift it a little bit and reinstall:

samsung leak repair


STEP 4

Install new drain line heater like this :

drain line heater repair

Long peace goes inside the drain line and wide portion wraps around the defrost heater.

It is all done . reinstall the cover ( don't forget the plugs ) in revers order. 

OPTIONAL - in my case i decided to replace the whole evaporator cover because heat damage to the foam. you can skip this if your cover looks good.

STEP 5

Install two new duckbills behind the refrigerator in the compressor compartment. slide the refrigerator out to get to the back of it.

repair

remove all the screws holding the back cover and install two new duckbills :

duckbills

LIKE THIS :

duckbills installed

Reinstall the back cover .

YOU ARE ALL DONE.  NO MORE WATER IN THE REFRIGERATOR !!!!!